¶ Automated Due Dates
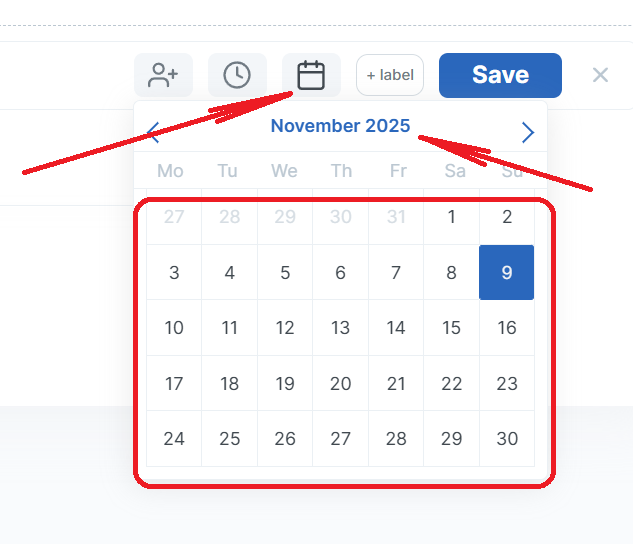
You can set due dates for tasks to plan the task completion date. This feature will help organize work on tasks within a project, reducing errors and saving time. To set the due date when creating a task, please press the schedule icon, select a month, and then choose a date:
To open the due date interface for an existing task, please press the gray label on the right of the task:

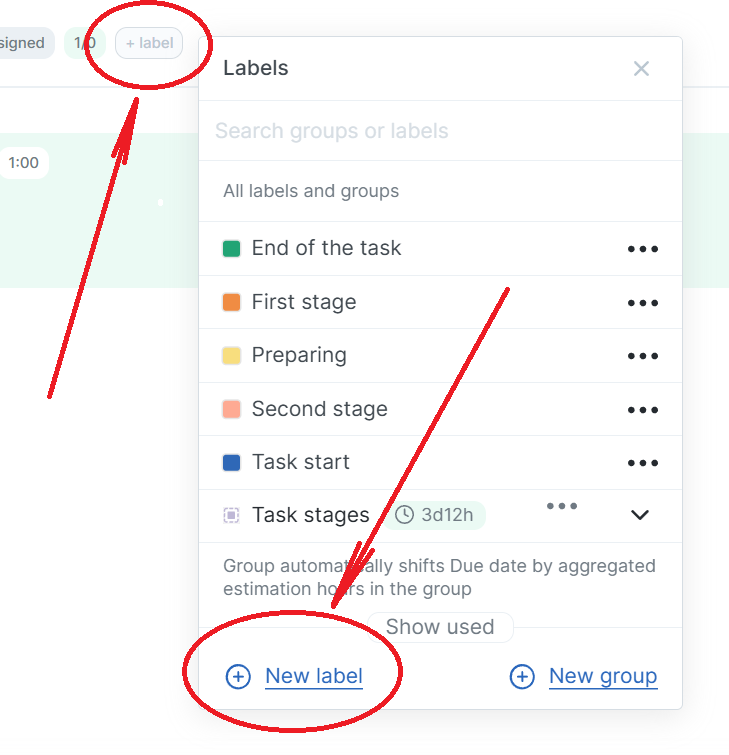
To automatically set a due date for a task, you can use a group of labels. First, please create labels for your group by pressing the ‘+ label’ on the right of the task name. Then press ‘New label’:
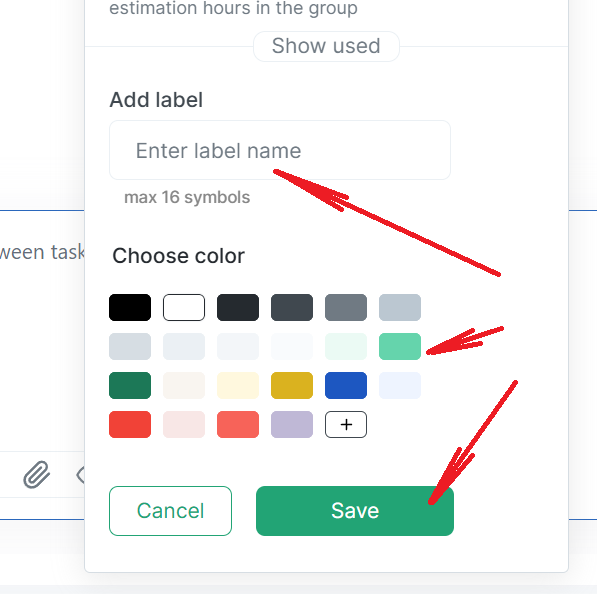
Enter the label name, choose the label colour, and press the ‘Save’ button:
After adding all labels, please press the ‘New group’:

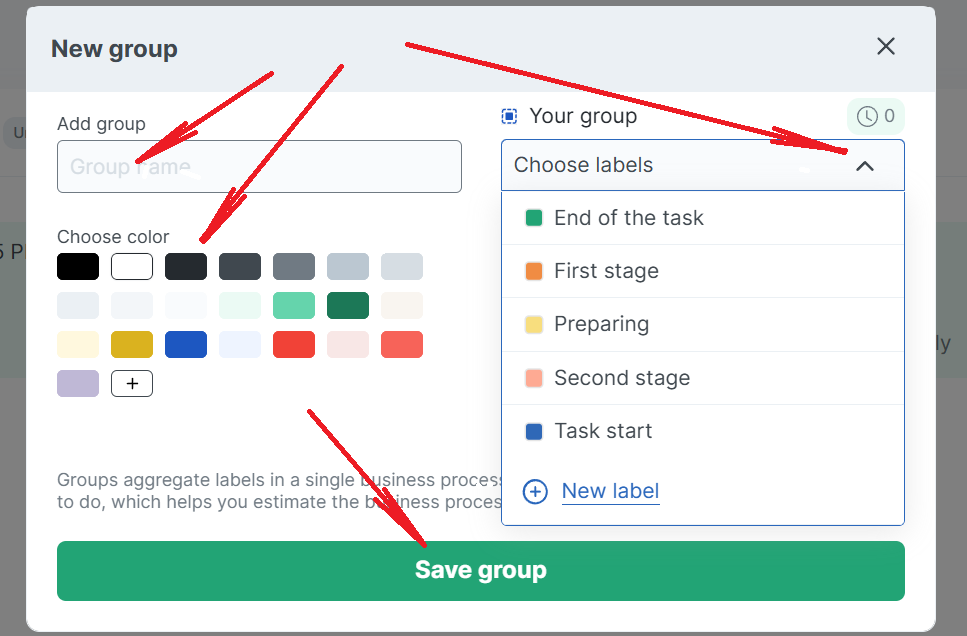
Enter the group name, choose the group colour, select the needed labels, and press the ‘Save group’ button:
After that, in the Labels interface, you can set the hours for each label in the group. The sum of hours for all labels will be displayed to the right of the group name.
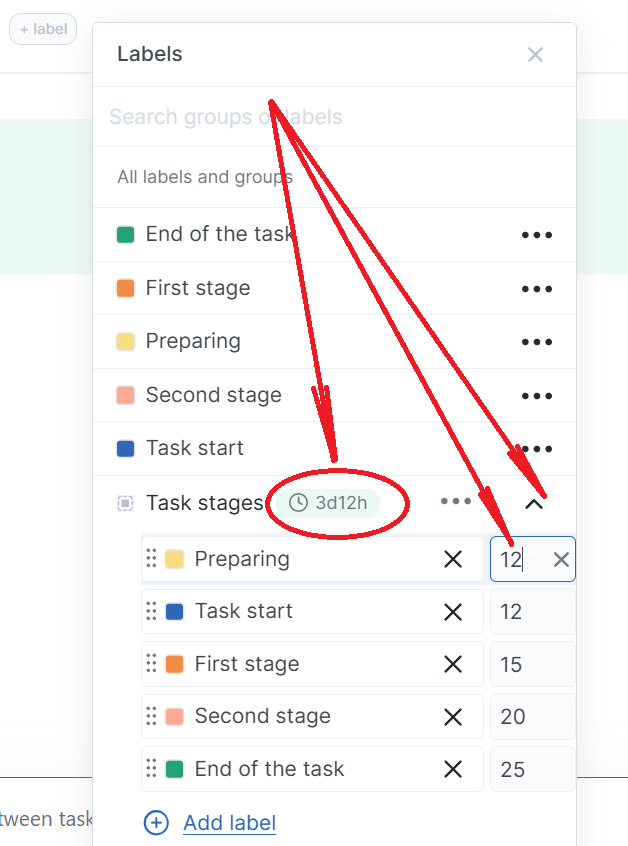
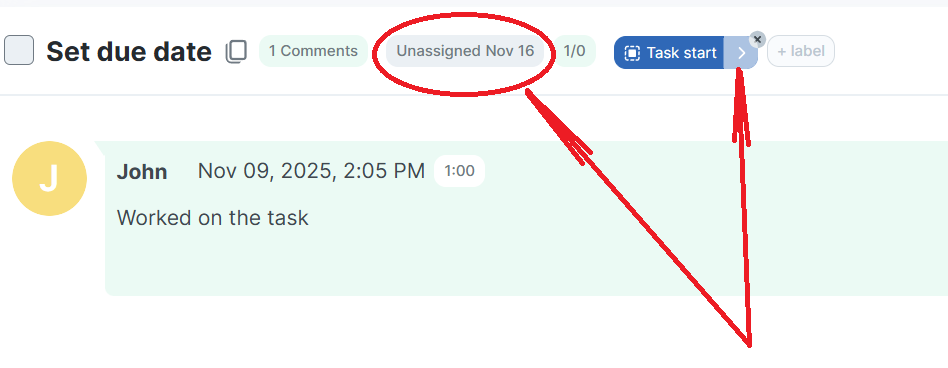
The task due date will be automatically set relative to the current date after moving to the next stage.
¶ Time spent on the task
When an employee works on a task, he can indicate the amount of time spent working on the task in his comment. To do this, the employee should press the clock icon and enter the time amount.
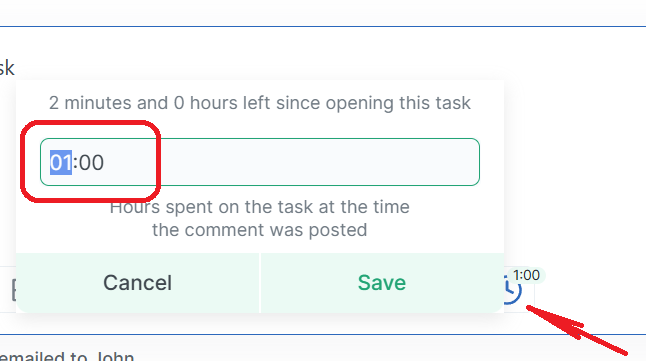
The time will be displayed in the comment and at the top of the task:
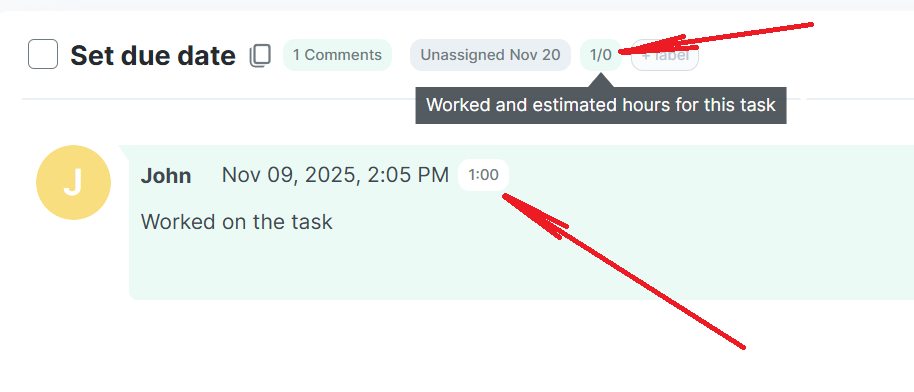
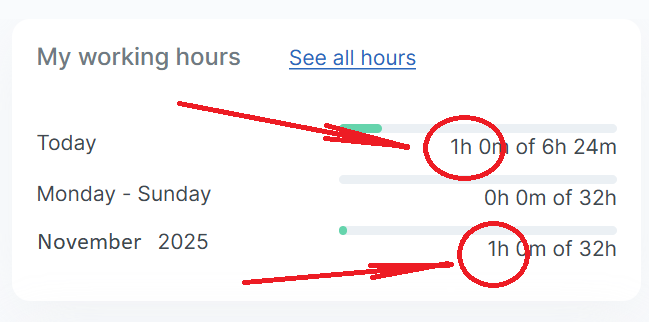
This time will also be added to the employee's working hours:
Maybe these links will also be helpful: