¶ ⚓ Creating
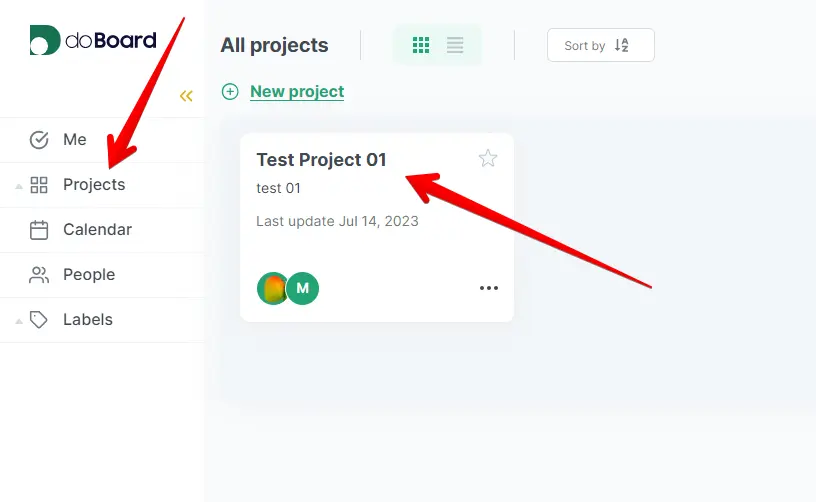
1. Go to Projects and click on any project you want to create a new task in it:
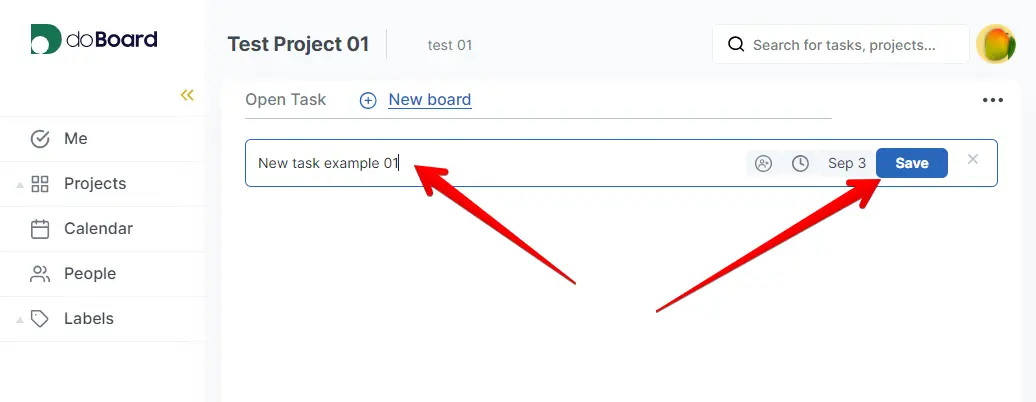
2. Click the New task button:

3. Type your task name and click the Save button:
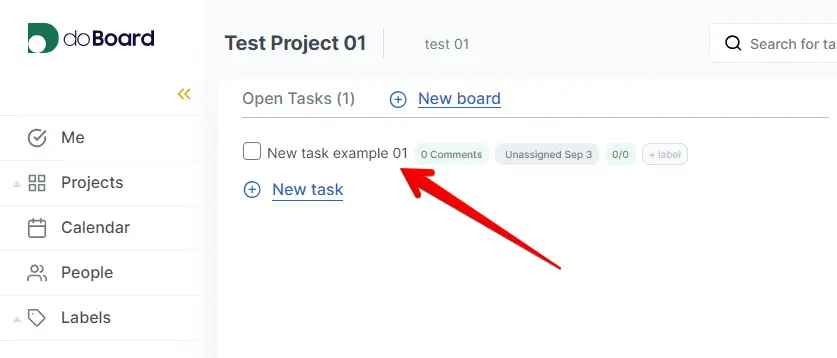
4. Done!
¶ ⚓ Editing
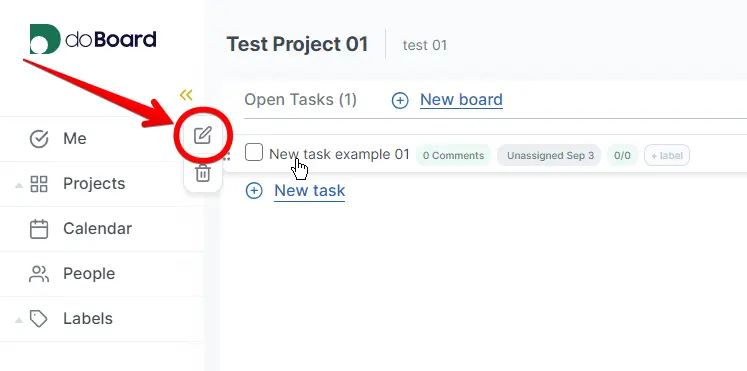
1. Hover our mouse over the name of any task and click on the icon with a pencil:
OR
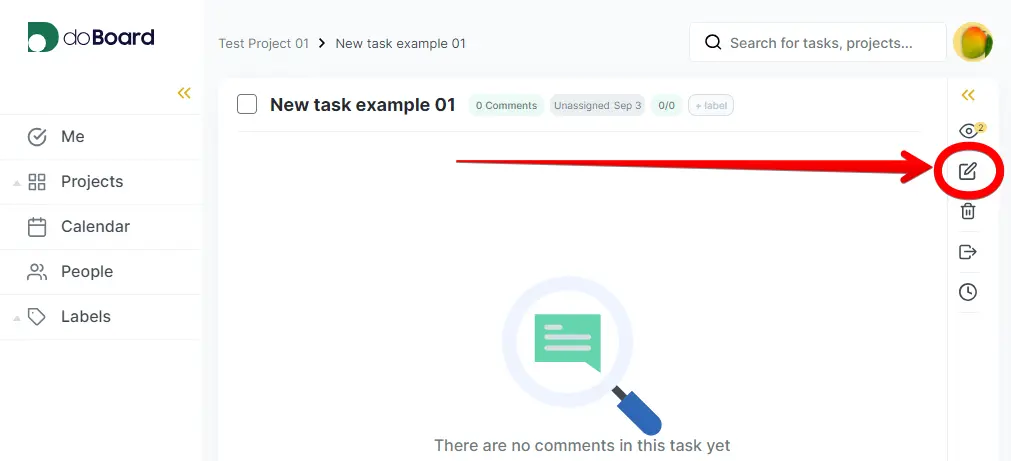
Go to any task and click on the icon with a pencil in the right menu:
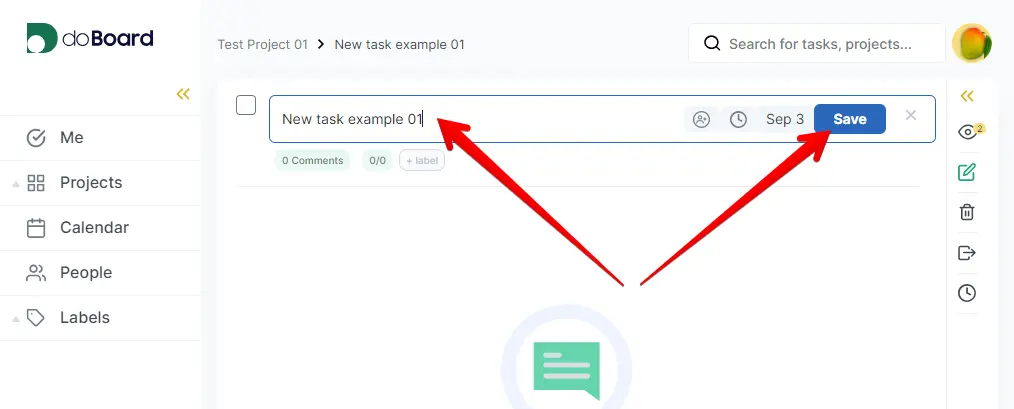
2. Now you can edit the chosen task, then click the Save button:
¶ ⚓ Labels
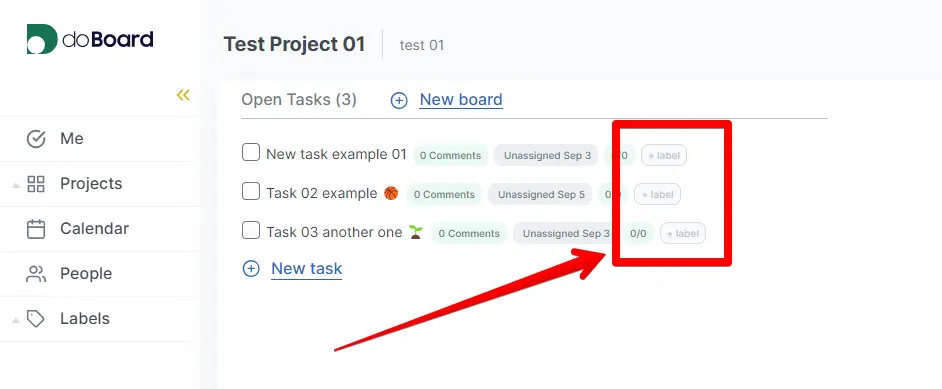
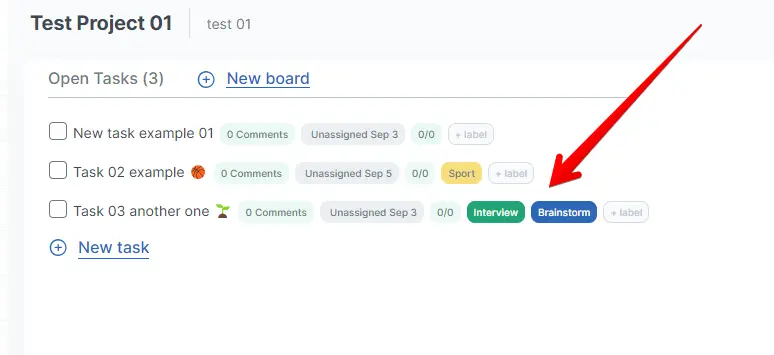
1. Click the +label button in the task name row:
2. In the popup window click the New label button:

3. Give your new label a name, color and click the Save button:

4. Done! You can apply several labels to any task:
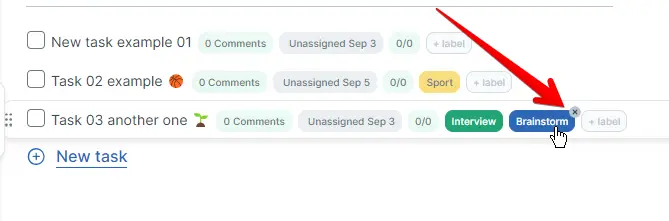
5. To delete a label simply click the cross button when you hover your mouse over it:
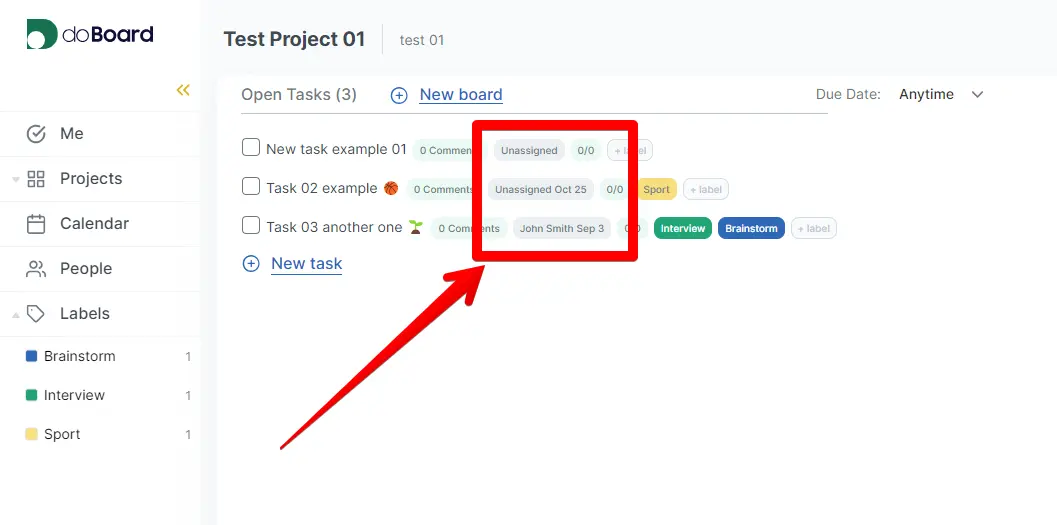
¶ ⚓ Assigning to a person
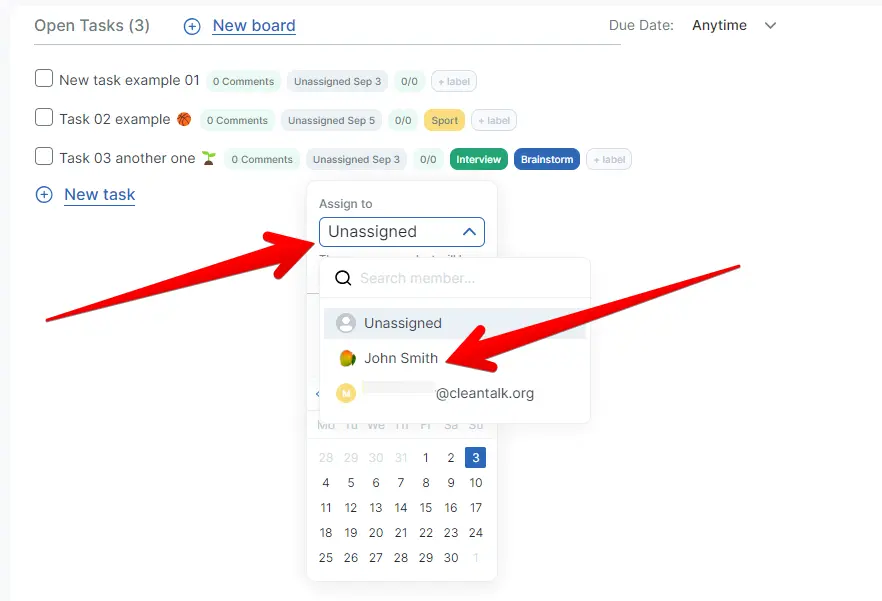
1. Go to any of your projects, you will see the list of the tasks. Each task has a plate with the assigned person (or Unassigned) and due date (or empty date). Click on that plate to assign or re-assign the task to a new person:

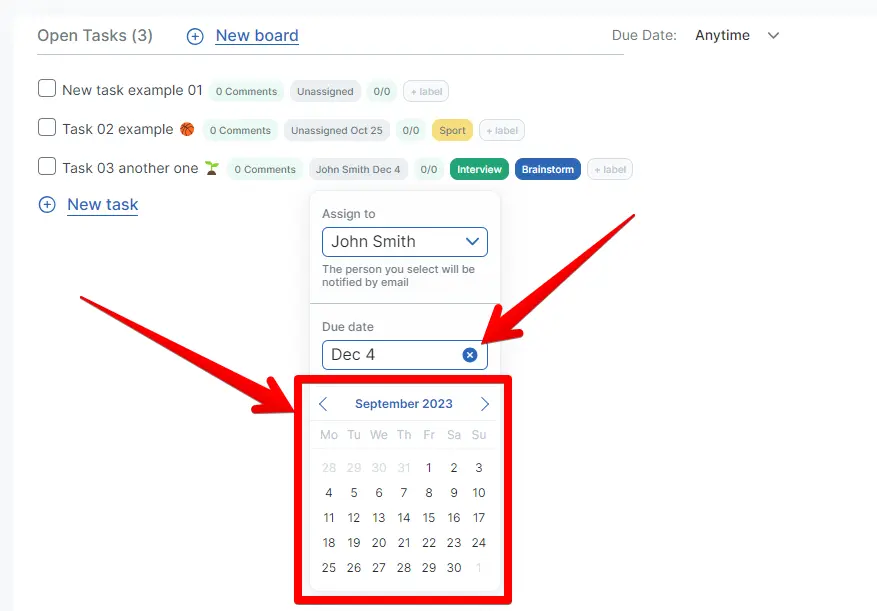
2. After clicking select a person in the dropdown menu:
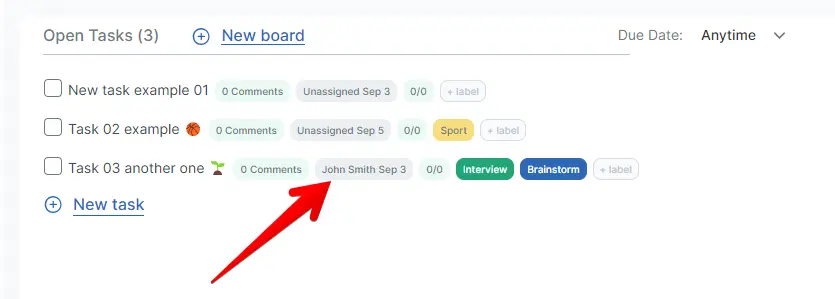
3. Done!
¶ ⚓ Due date
1. The same process is for settings a due date. In the task name row, click on the plate where the assigned person (or Unassigned) is located:
2. In the dropdown menu use the calendar to set a Due date for the task or remove it by clicking the blue circle with a cross. Done!
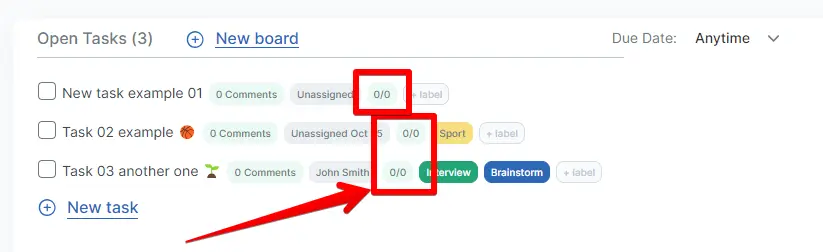
¶ ⚓ Time spent
1. If you want to set the estimated time of completion for a task, click on the 0/0 plate next to the assignment plate in the task name row:
2. In the dropdown menu select a person and set the number of hours and minutes the selected person should spent on this task. Then click Save:
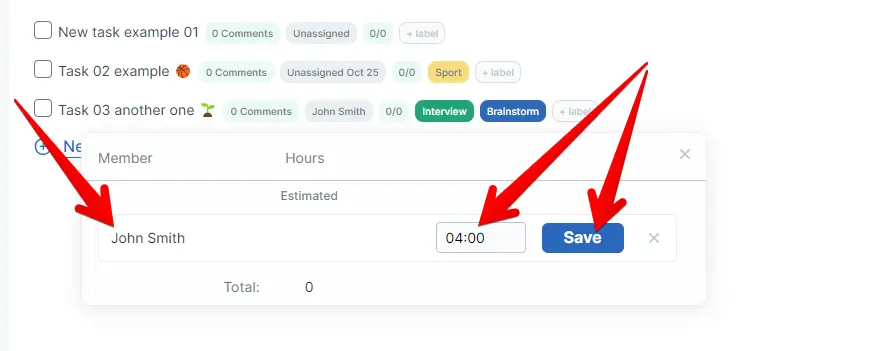
3. Done! You can repeat this process for any involved person or delete the estimated time by clicking on the trash can icon:

¶ ⚓ Deleting
1. Deleting a task is very easy. Hover your mouse pointer over the task name, then a small menu on the left will appear. Click on the trash can icon:
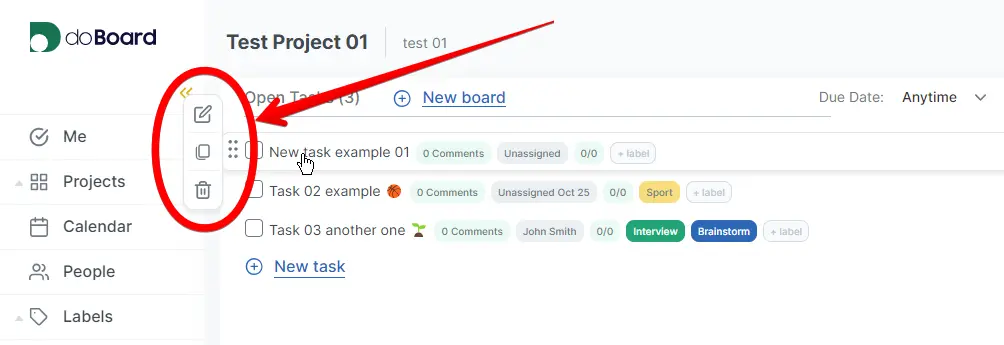
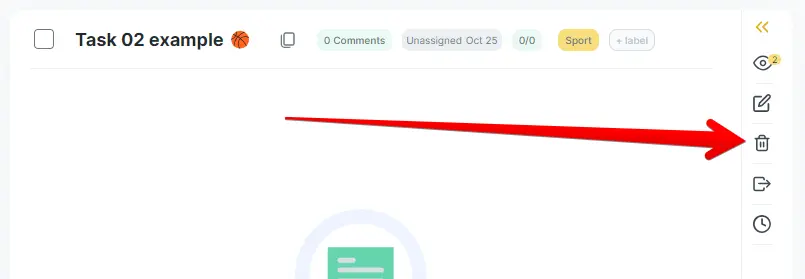
OR
Go to any of the tasks and click on the same trash can icon in the right menu:
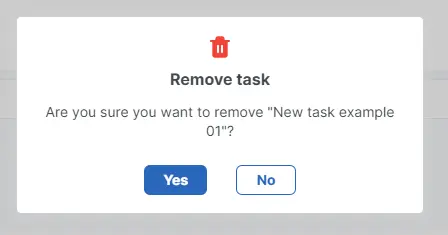
2. Confirm your action. Done!