In this article, we will show you how to create and manage projects in doBoard.
The article consists of four sections. You can choose any section by following an appropriate link below:
¶ ⚓ Creating
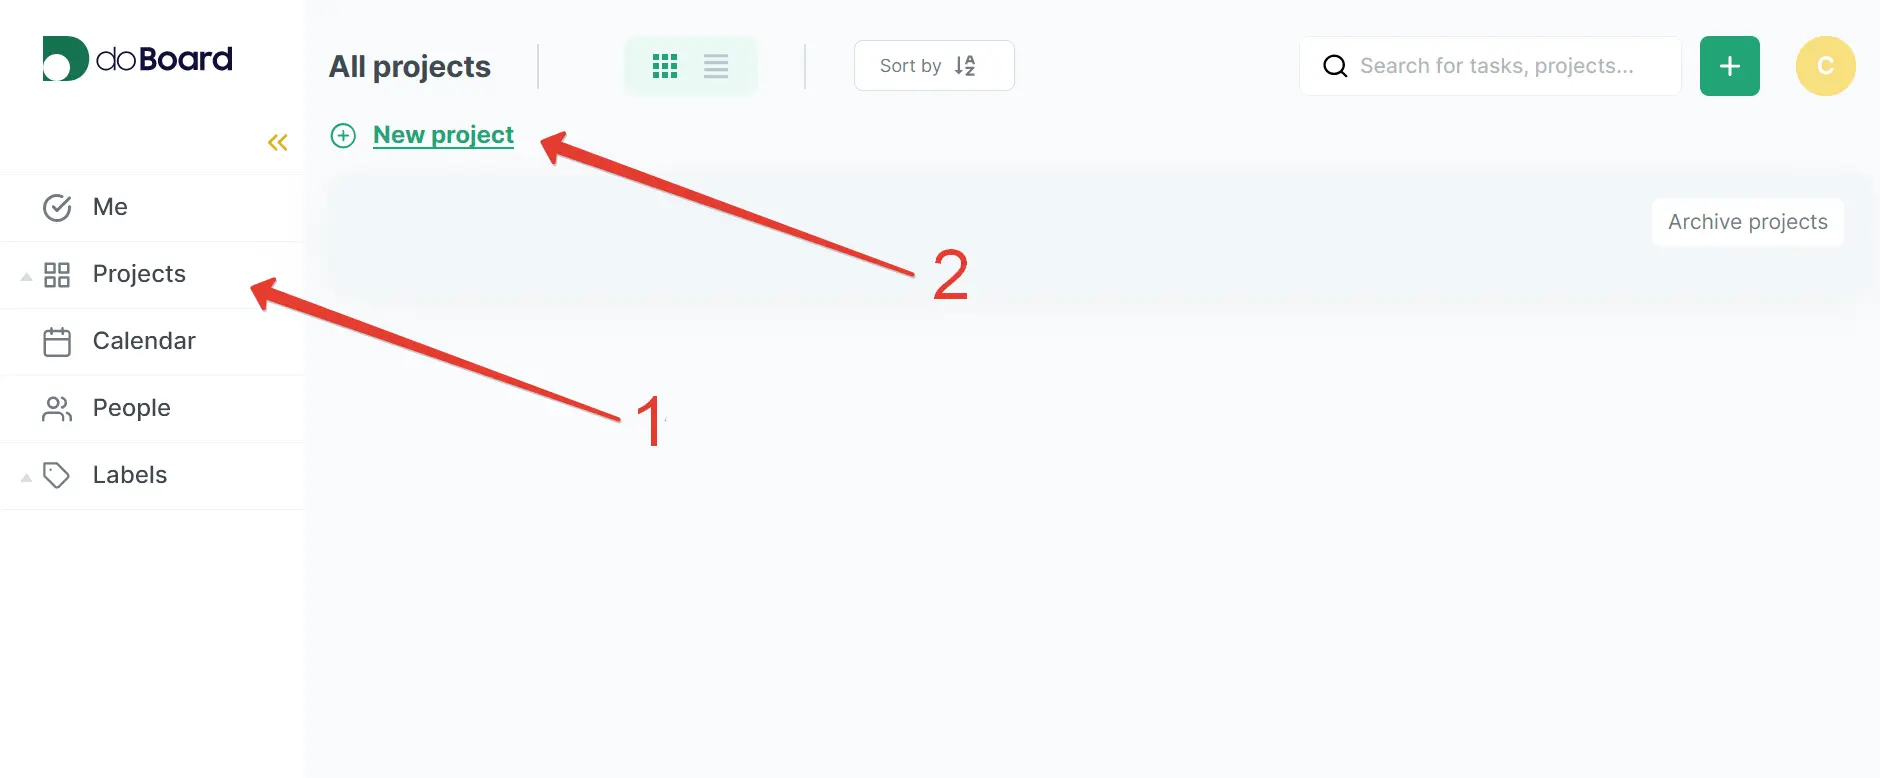
- Go to Projects, then click the New Project button in the upper left corner of the screen.
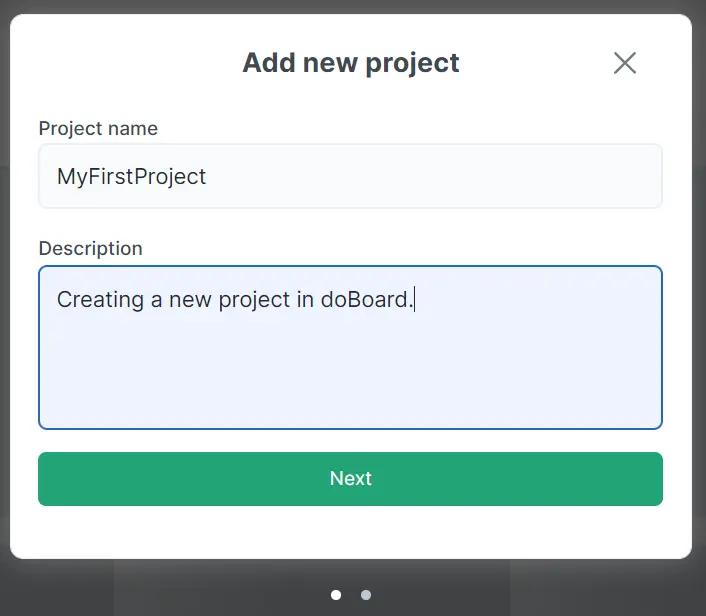
2. Choose the project name (optionally, you can add a description of your project). Then click the Next button.
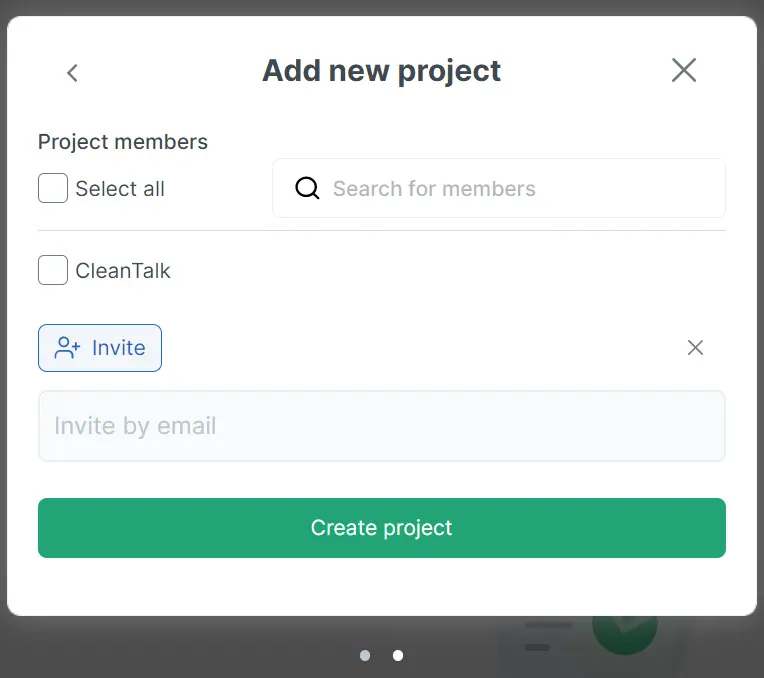
3. Choose members of your company to join your project. You can also invite members outside of your company to join the project via email. Once you are done, click the Create project button.
Congratulations! Your project is created!
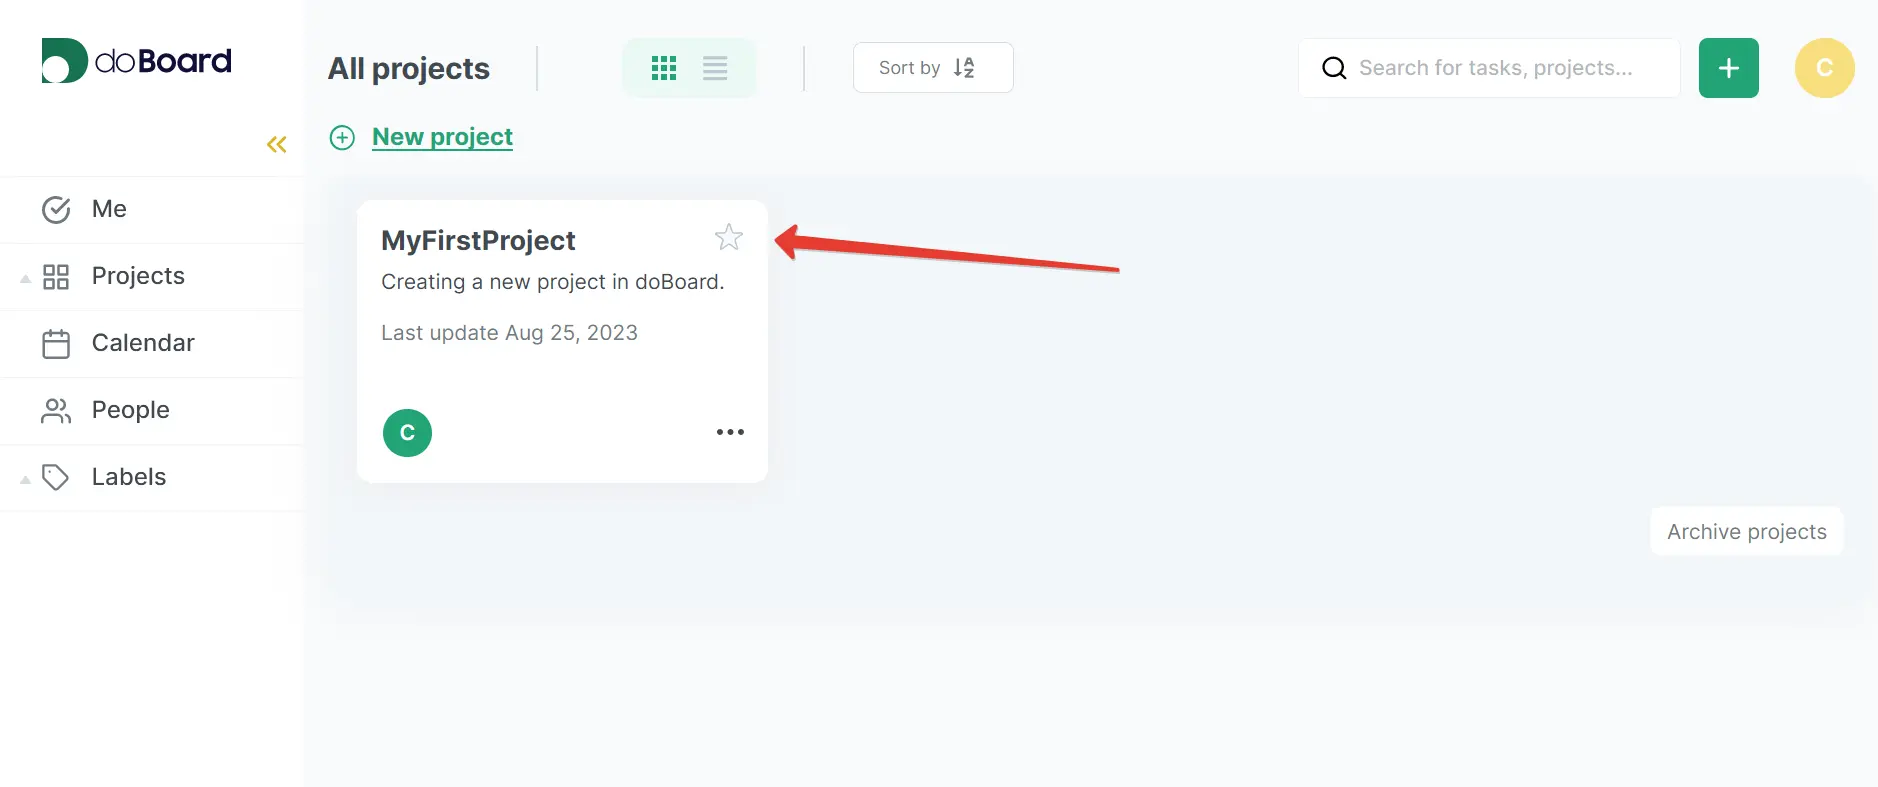
¶ ⚓ Editing
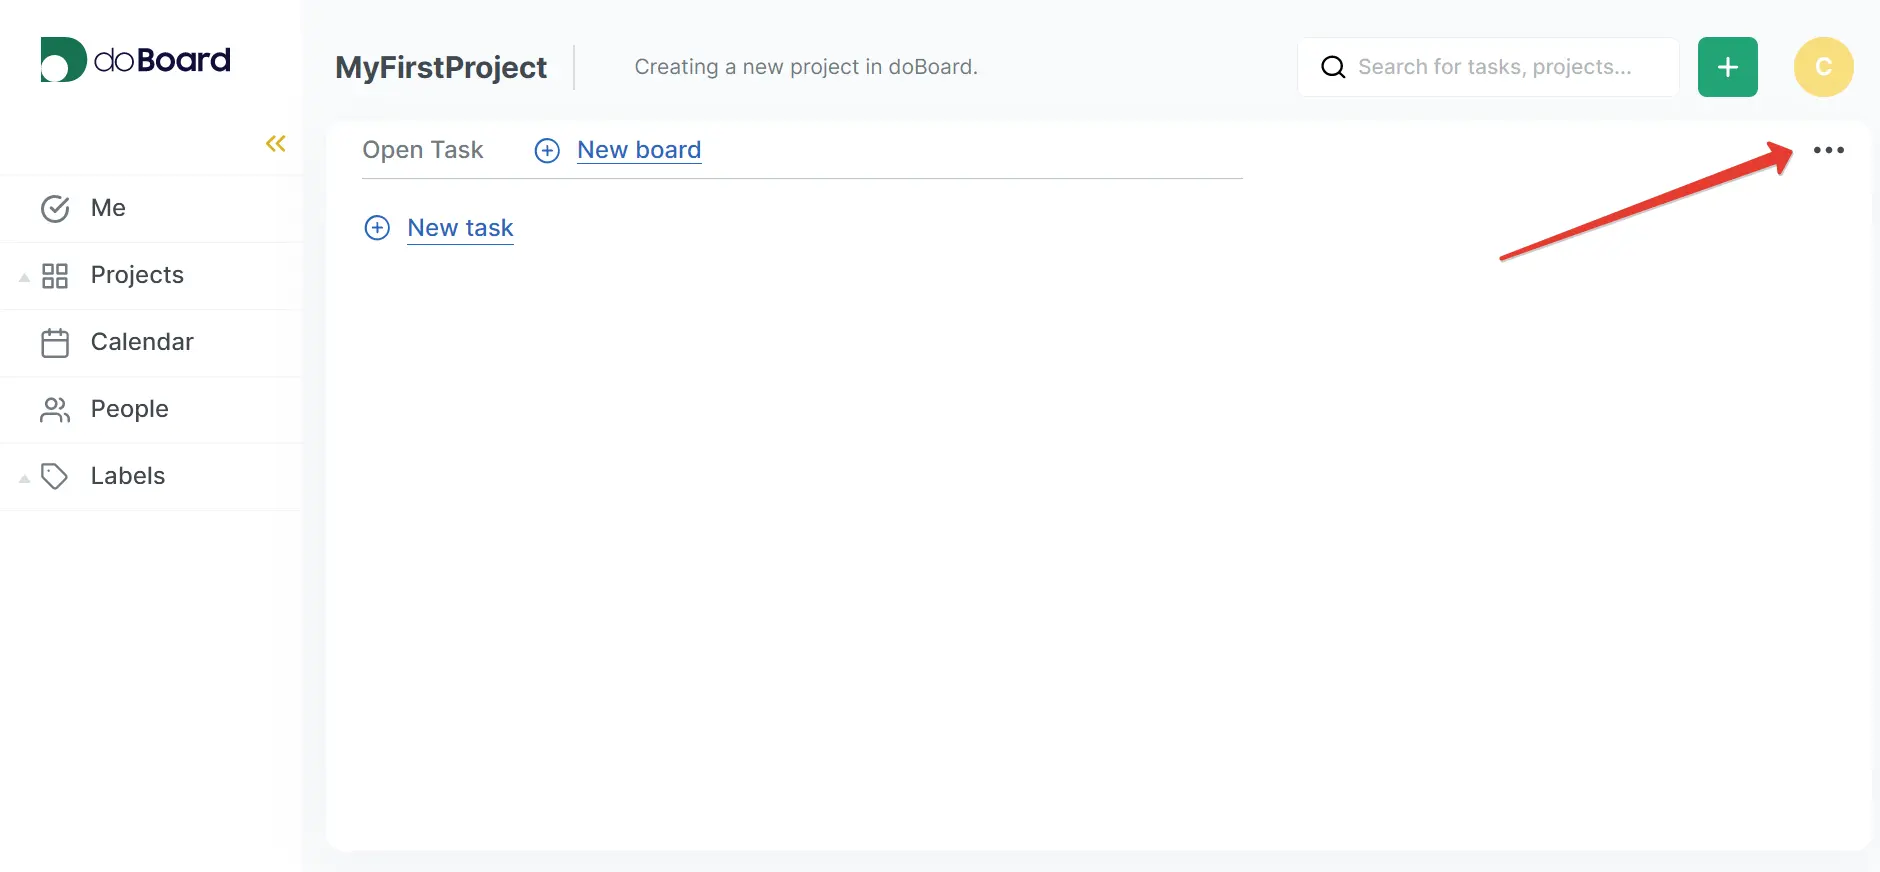
1. Go to your project page, then click the ellipsis icon.
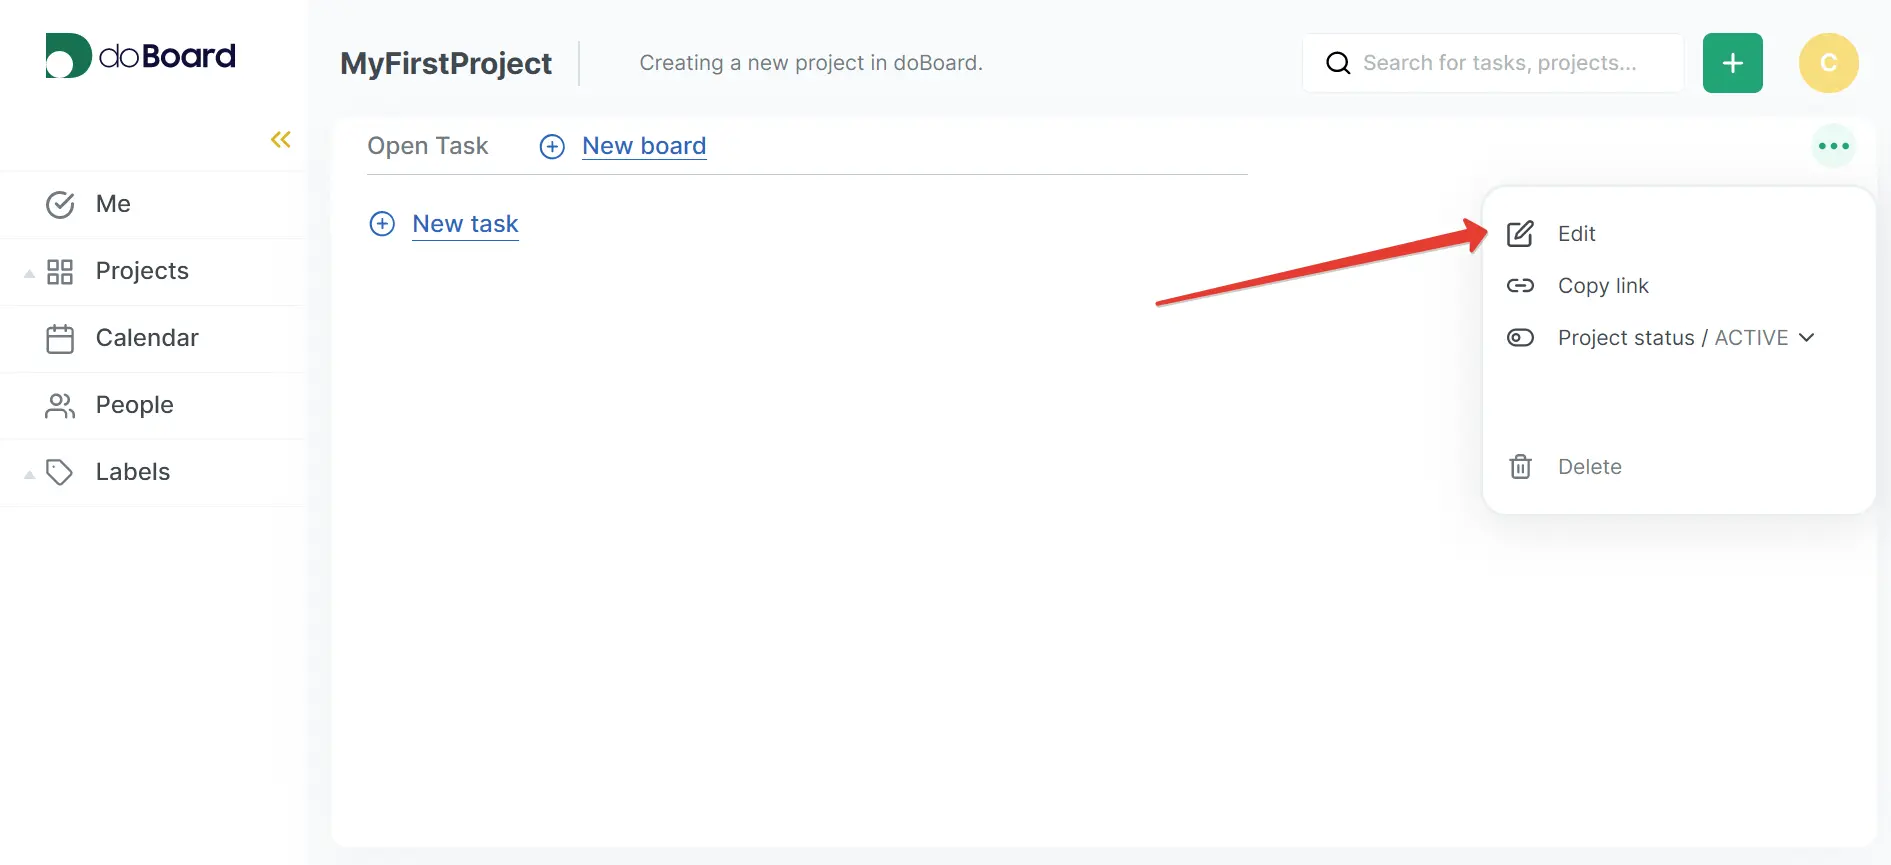
2. Click the Edit button in the drop-down list.
3. You can change the project name, its description, and invite new members to your project.
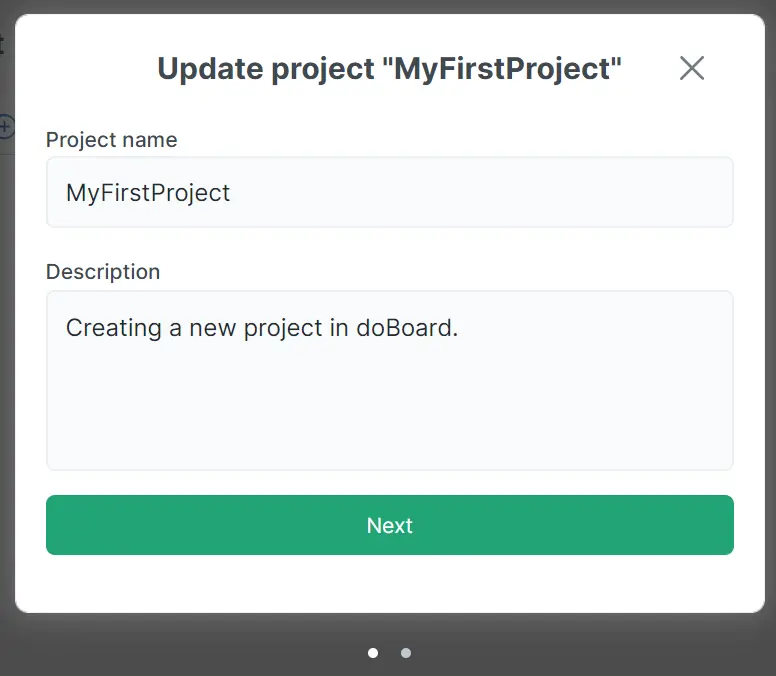
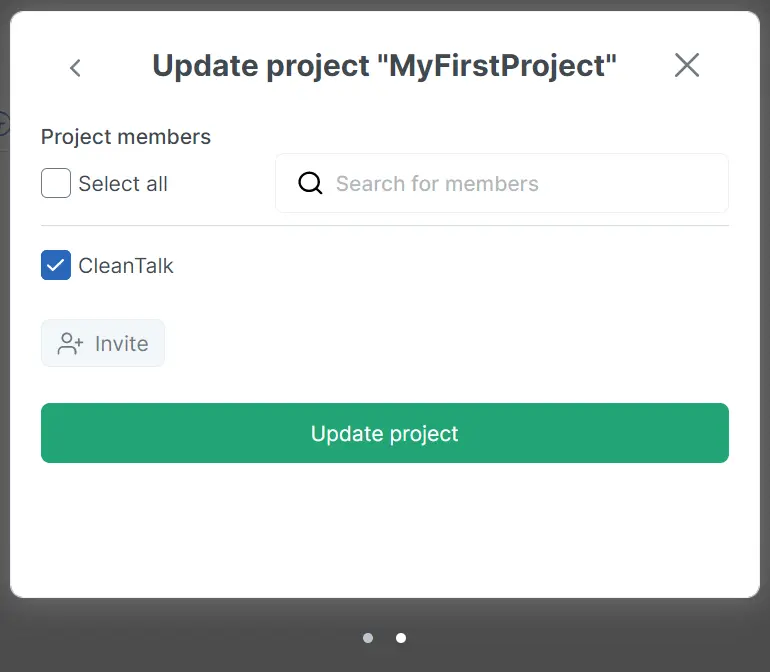
4. Once you are done editing your project, click the Update project button.
¶ ⚓ Sorting
You can sort tasks alphabetically, and vice versa. To change the sorting, click the Sort by icon on the upper side of the screen.
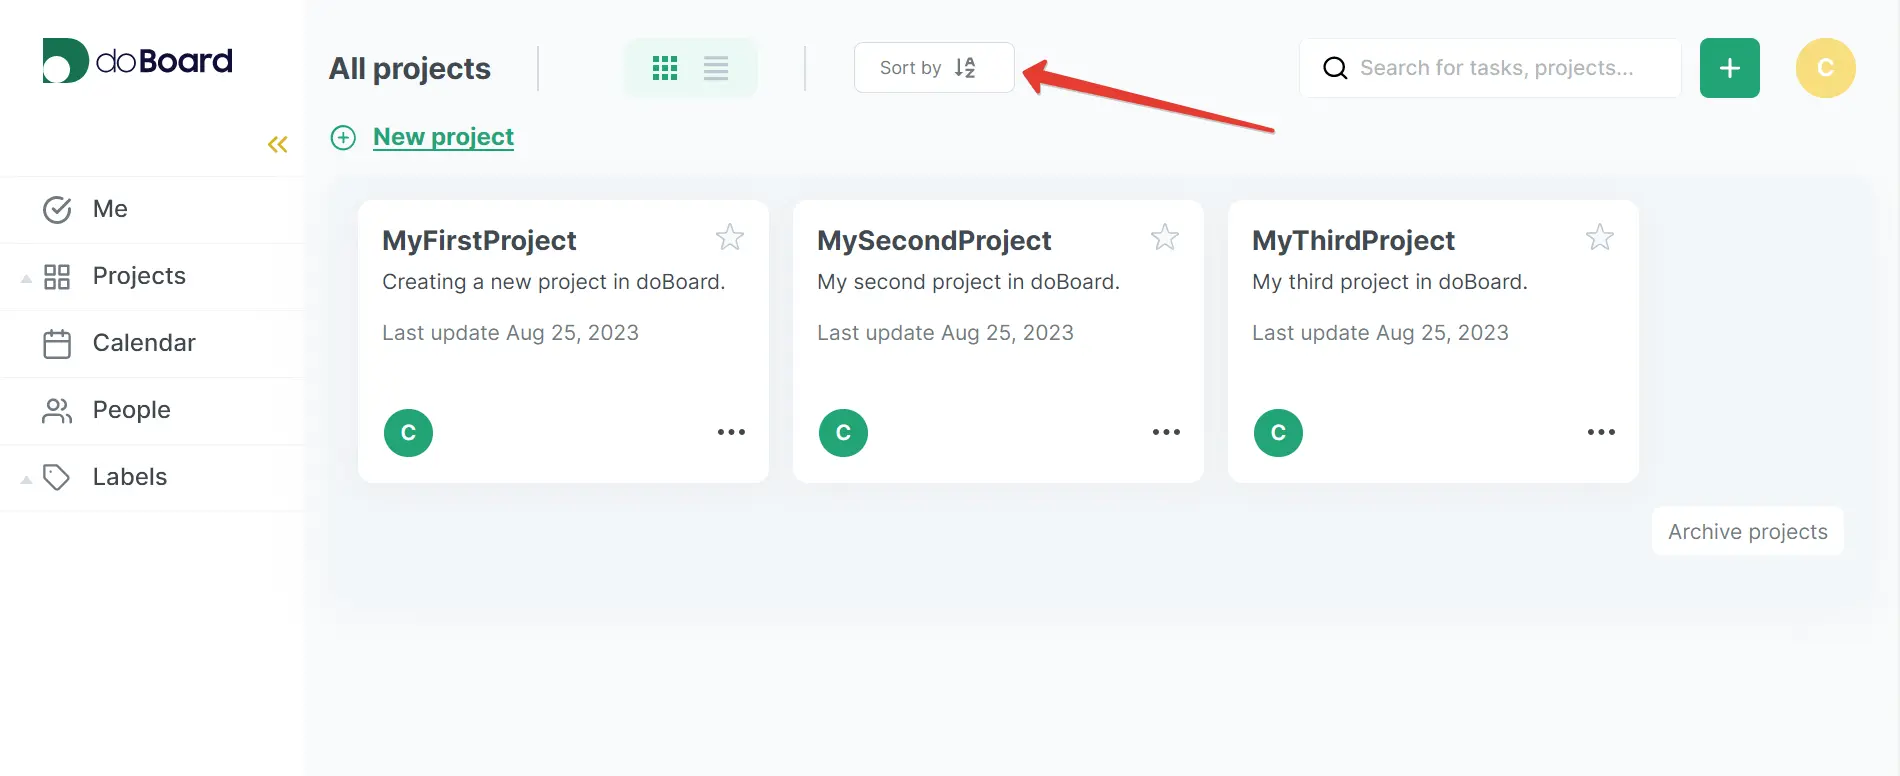
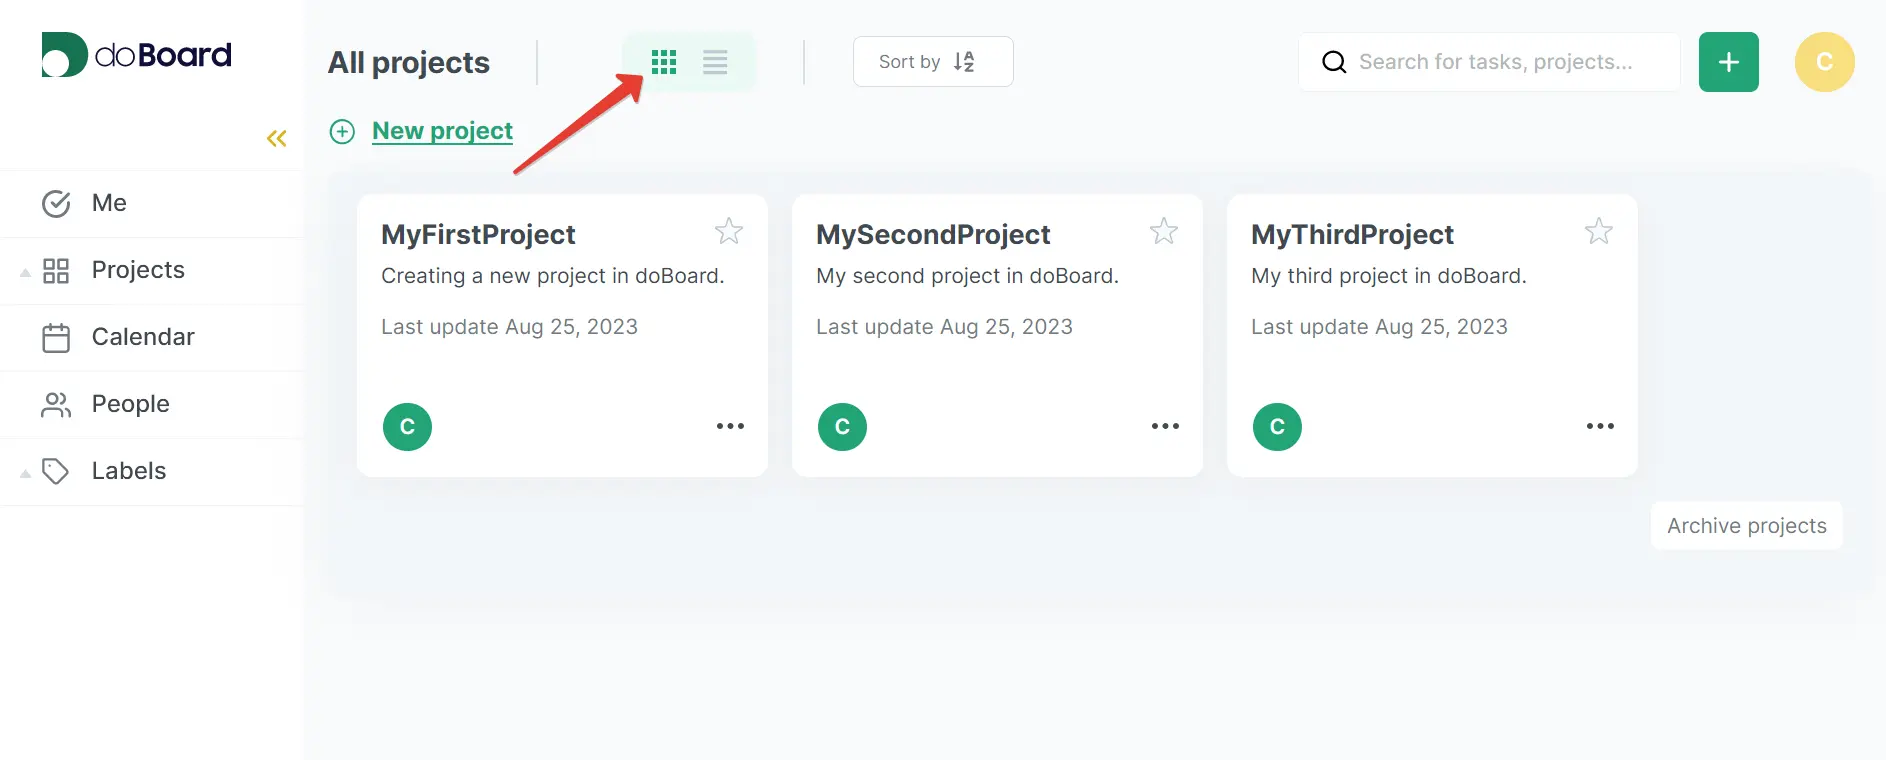
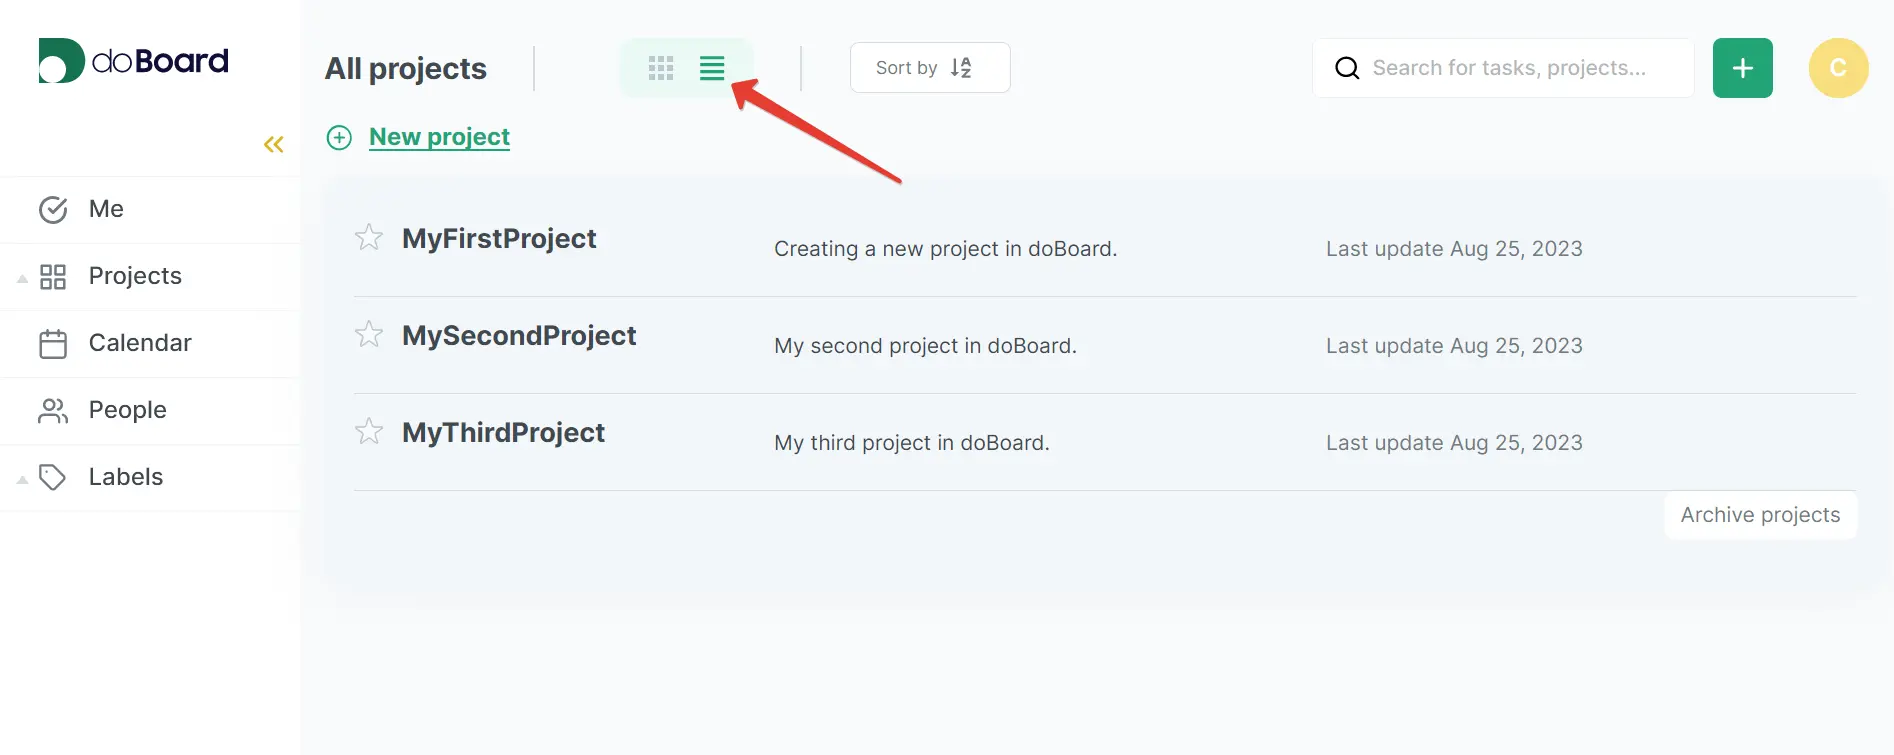
You can also choose how your projects will be displayed. You can choose to display your projects either as a tile or a list.
Tile display:
List display:
¶ ⚓ Deleting
1. Go to your project page, then click the ellipsis icon.

2. Click the Delete button in the drop-down list.
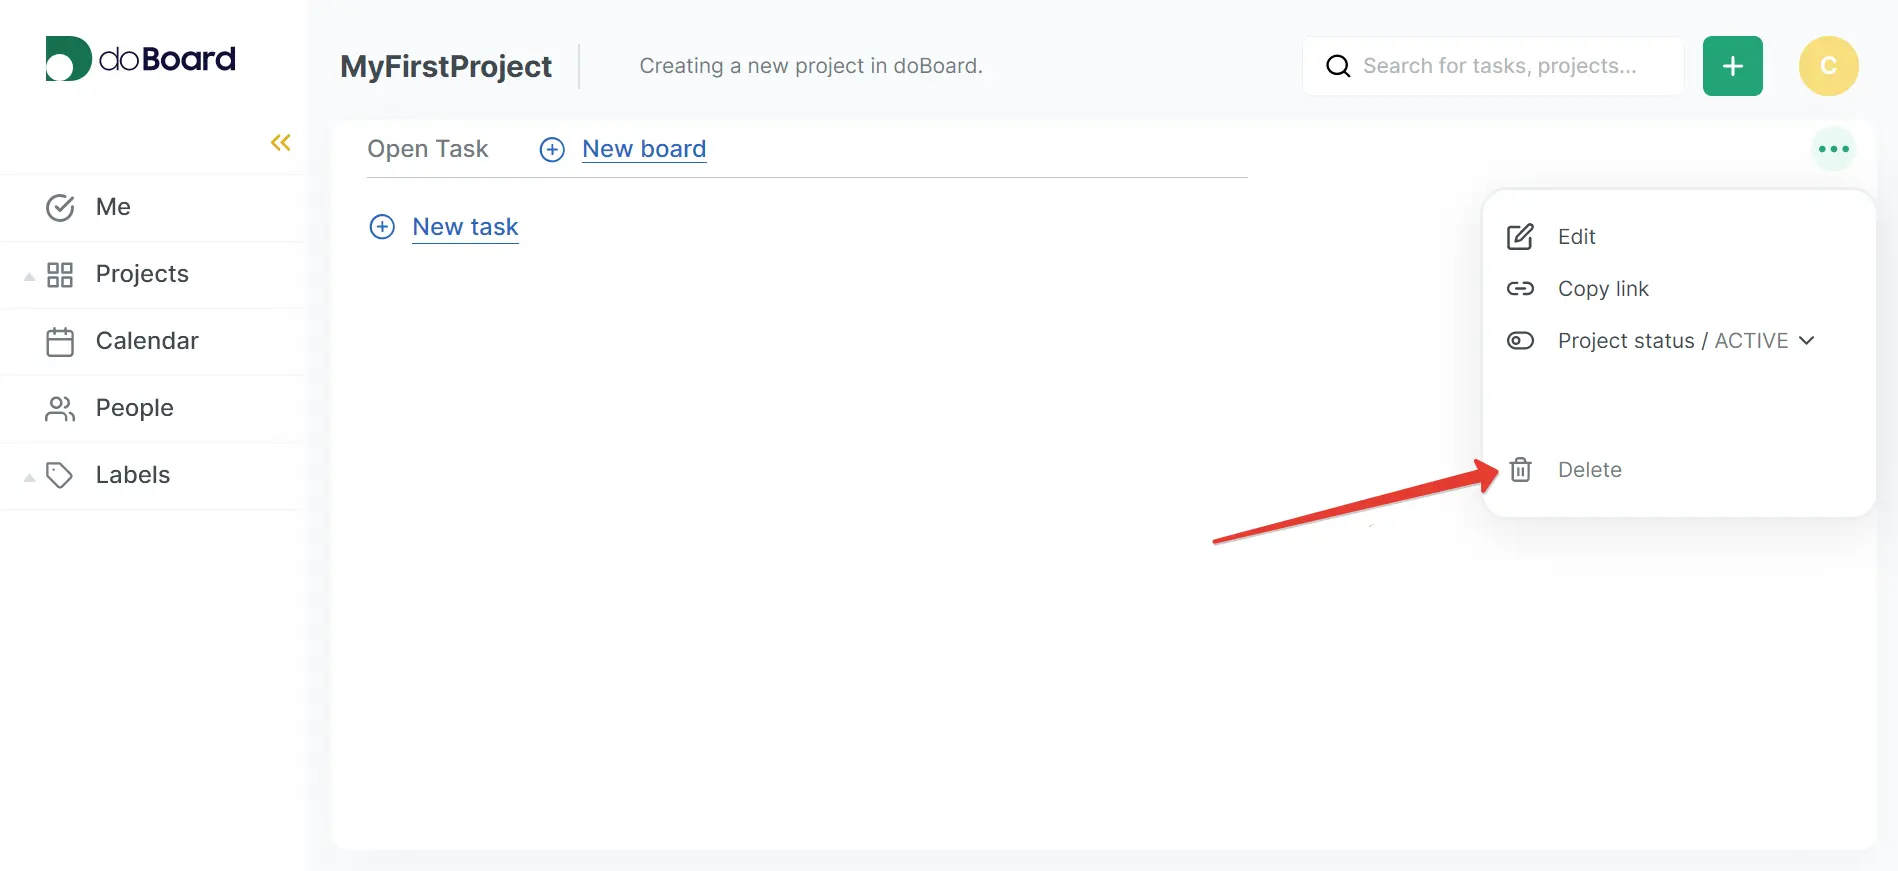
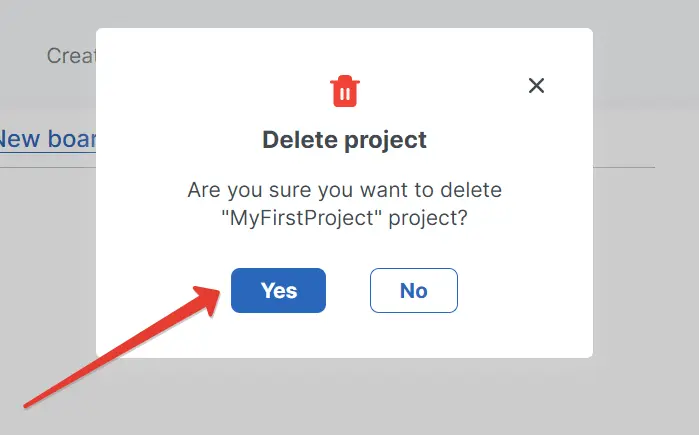
3. Confirm deletion of the project by pressing Yes.
